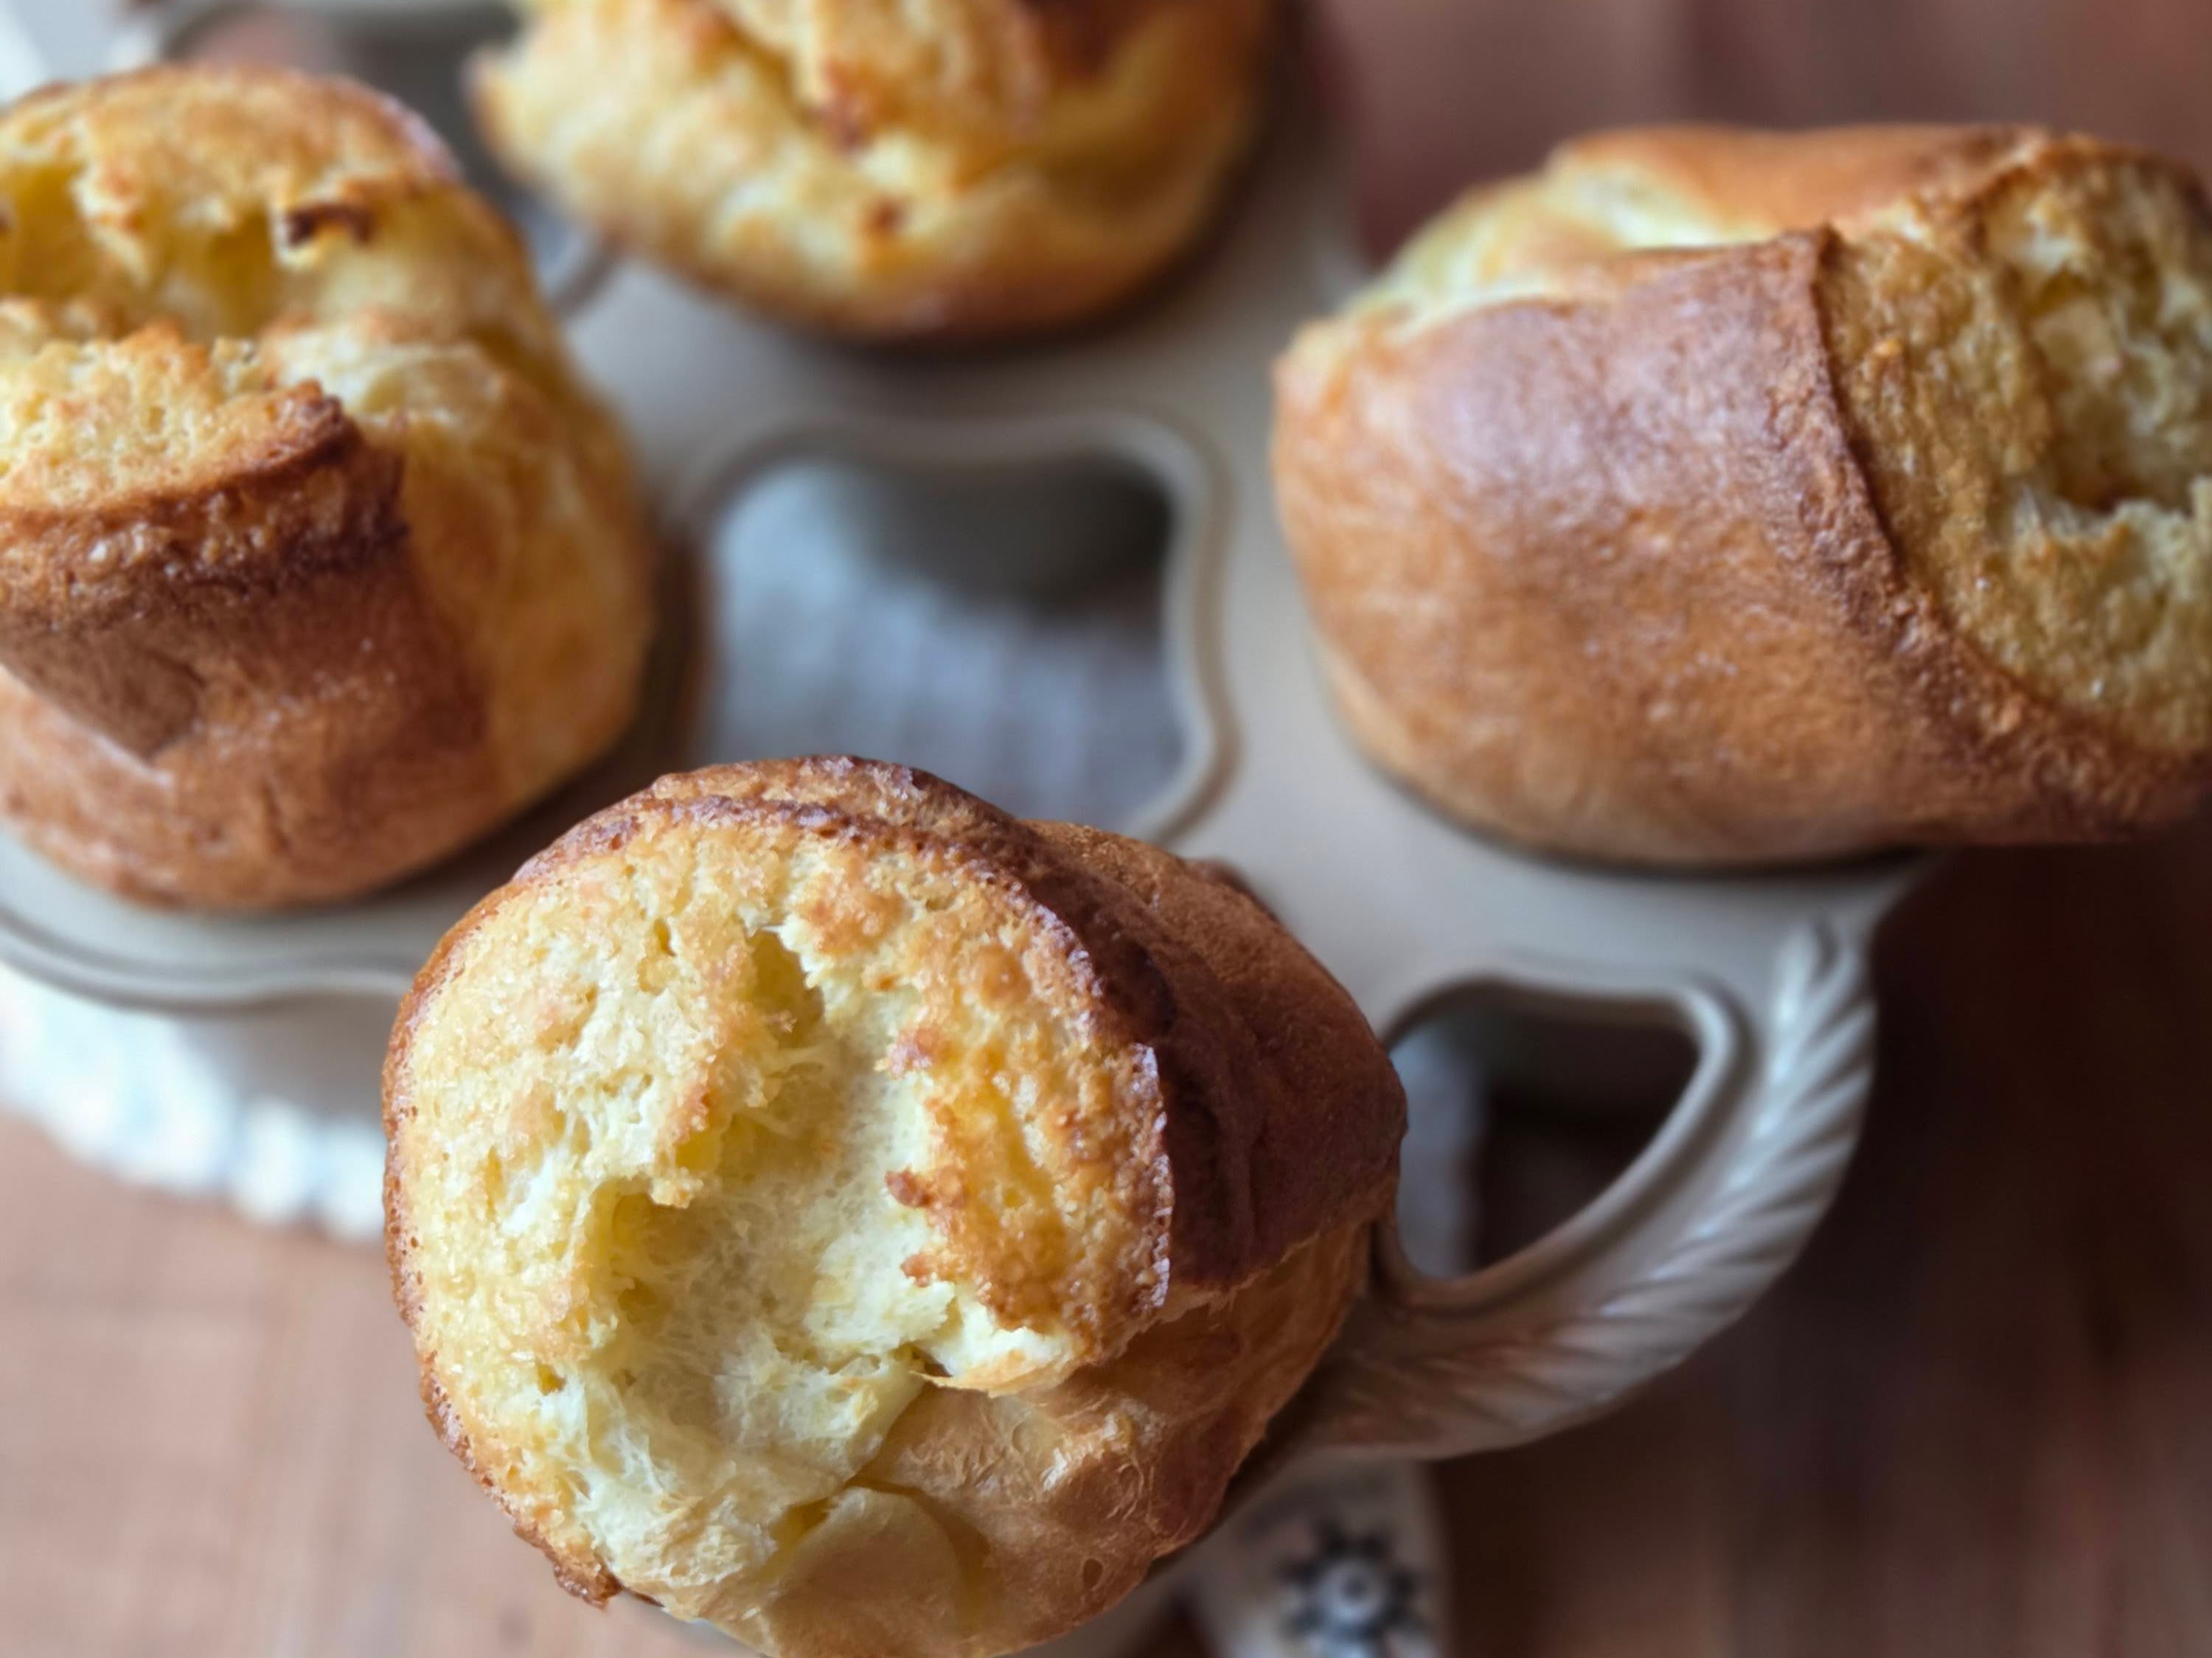
Forget everything you think you know about intimidating baking. Today, we’re making Popovers—those dramatic, towering rolls that are crispy on the outside and wonderfully hollow within!
I have spent a long time in the kitchen perfecting this recipe, testing every variable so you don’t have to. This is the fail-proof method that finally gives you guaranteed puffiness.
I have noticed that different ovens bake popovers differently. Try this recipe at different temperatures in your oven if you don’t get perfection the first time. Other than that, this recipe really is quick and simple!
Preheat your oven to 400o F. Heavily butter 5-6 popover pan cups (I mean heavily). You don’t want the popovers to stick while they’re baking or when you are trying to remove them.
Melt your butter. While your butter is melting, beat your eggs with an electric mixer until the eggs are frothy. Next, add in your milk and melted butter and mix well.


Next add in your flour and salt and gently beat to combine. You need to be careful not to over beat – it will be lumpy! See pictures for reference.


Divide your batter into your prepared popover pan, filling each cup about half full. Bake for 30-45 minutes. Do not open the oven door until they have finished baking, it will release the steam necessary to make them puffy. Instead, check on them through the oven window.


Remove your popovers from the pan and serve warm. Enjoy!


The Best Puffiest Popovers
Ingredients
Method
- Preheat your oven to 400o F. Heavily butter/grease 5-6 popover pan cups.
- Melt your butter. While your butter is melting, beat your eggs with an electric mixer until the eggs are frothy. Next, add in your milk and melted butter and mix well.2½ tbsp unsalted butter (melted), 3 eggs, 200 grams milk
- Next add in your flour and salt and gently beat to combine. Be careful not to over beat – lumps are good.120 grams flour, ¼ tsp salt
- Divide your batter into your prepared popover pan, filling each cup about half full. Bake for 30-45 minutes. Do not open the oven door until they have finished baking, it will release the steam necessary to make them puffy. Instead, check on them through the oven window. Remove your popovers from the pan and serve warm. Enjoy!
Notes
- I have noticed that different ovens bake popovers differently. Trying this recipe at different temperatures in your oven may benefit your results if you don’t get perfection the first time.
Leave a Reply