New Starter from Scratch is Runny? Isn’t Growing? Is Smelly?
Did you recently begin the process of making your very own starter from scratch?
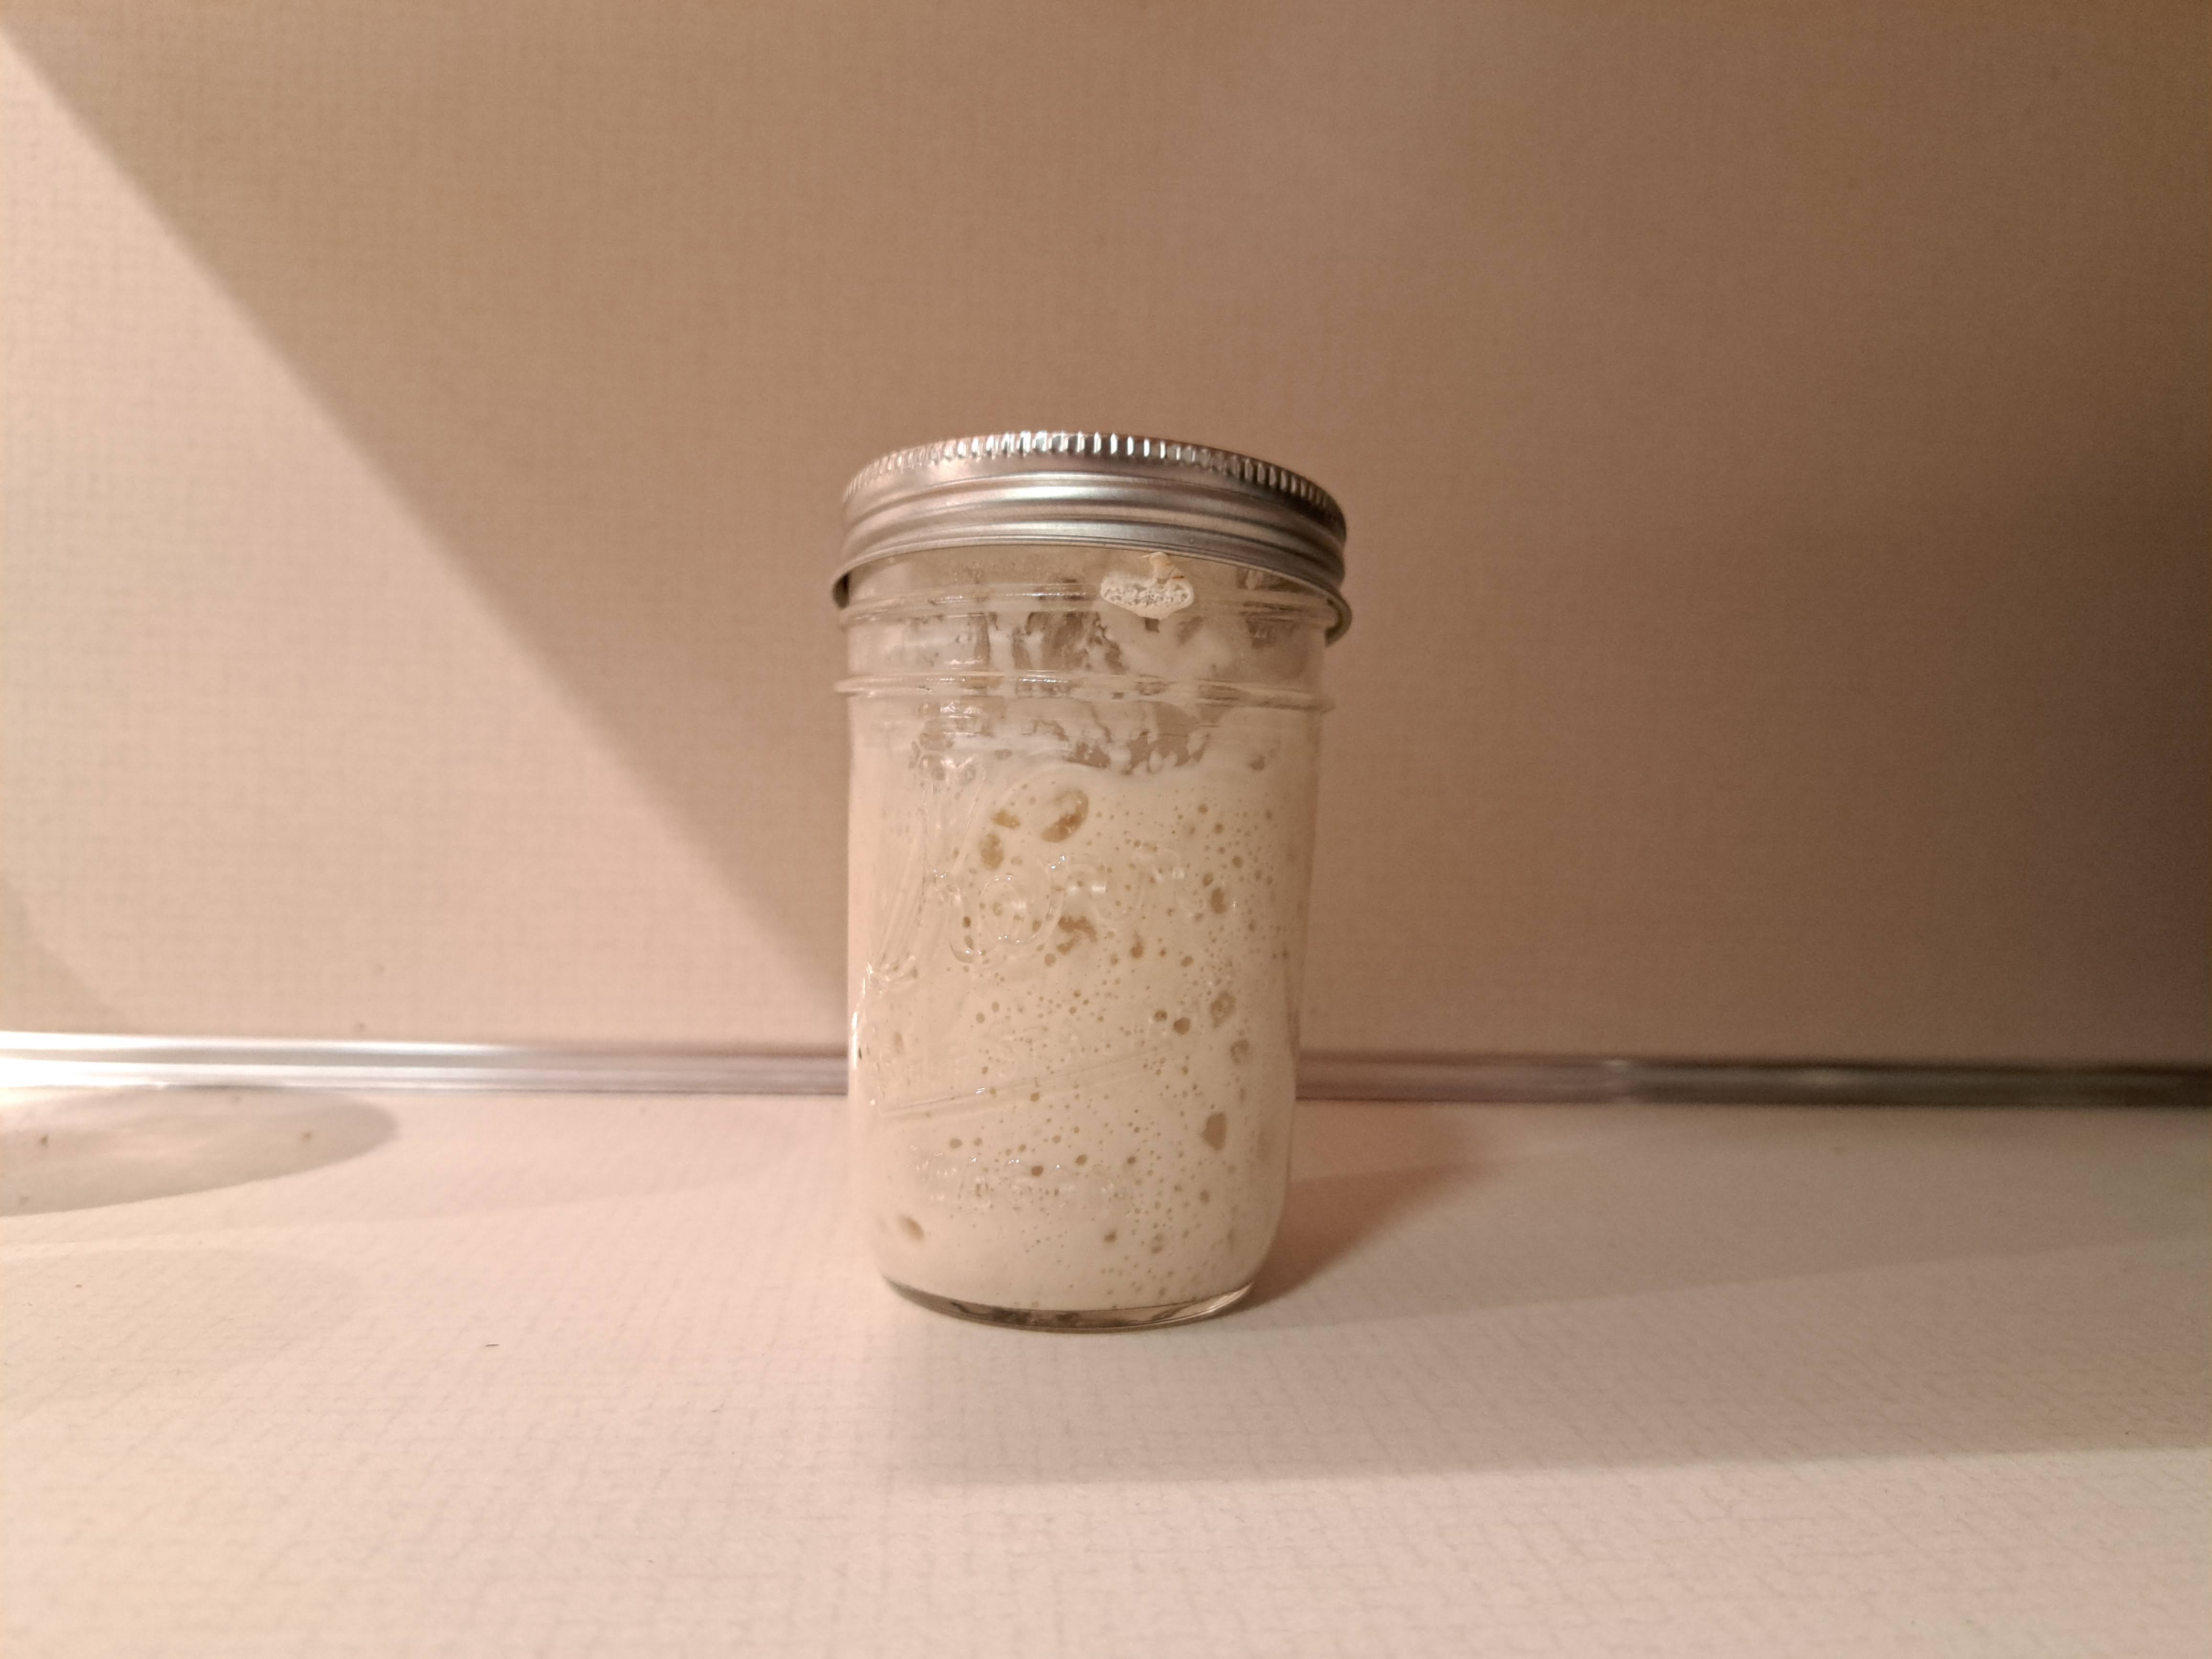
You have likely encountered at some point in your process a seemingly “dead” starter. Don’t worry! You didn’t kill it, it’s not broken or messed up. If your starter has a sour smell then it IS fermenting, you just need to stick with it.
The consistency of your starter changes throughout its life. At the beginning it will be very runny, and likely have few or very little bubbles. As it matures you will notice bigger bubbles and a stronger, stretchier consistency – sometimes it can even be stubborn to get out of your jar!
The starter IS fermenting, you simply need to continue on a regular feeding pattern. Once your starter is at least doubling in size 6-12 hours after feeding, then it’s ready to be used for baking.
I Want to Get My Starter More Active and Bubbly
If you are following my Making Starter From Scratch tutorial, you will likely notice bubbles in your starter within the first 2-3 days. Then you will notice a fast drop in activity the following days – don’t be discouraged as the activity will come back. Simply continue on in your consistent and steady feeding schedule.
Rye Flour
Rye flour, along with whole wheat flours, will increase the activity in your starter very quickly. If you are struggling to transition from feeding your starter rye flour to feeding it only all-purpose flour, you can make a 1:10 rye:all-purpose flour mixture to feed your starter with.
Place 5 grams rye flour and 50 grams all-purpose flour in a clean jar or storage container and thoroughly combine. Use this rye/all-purpose mixture in place of straight all-purpose flour for the next 1-7 days when you feed your starter. Not only will your starter become more active, the rye flour will also cause your starter to have a sweeter essence and a little less tangy flavor.
You can add a tad of rye flour (or wheat flour) into your starter feedings whenever you want it to speed up in activity or be a little sweeter. Once your starter is strong and relatively predictable, you likely won’t find much need for rye flour in your starter feedings anymore.
My Starter is Too Active
A lot of the advice I give about sourdough starter is based on your environment.
Here are two general rules of thumb when it comes to starter and your bread-making process:
- A warmer environment will speed up the growth of your starter.
- A cooler environment will slow down the growth of your starter.
I live in the Midwest, with four distinct seasons. In the summer, my kitchen gets hot (can be in the upper 90s) and humid – causing my starter to rise (and often fall) too fast. In order to account for this I feed my starter a 1:10:10 ratio twice a day. This typically looks like 5 grams active starter, 50 grams water, and 50 grams unbleached all-purpose flour.
On the other hand, in the winter my kitchen stays around 64 degrees, so my starter growth slows WAY down. As I result, I typically feed my starter a 1:5:5 ratio twice a day. This typically looks like 10 grams active starter, 50 grams water, and 50 grams unbleached all-purpose flour.
How Much Should I Feed My Starter? How Do Feeding Ratios Work?
First, it’s important to understand ratios in feeding your starter. A little bit of math is involved, but don’t worry – it’s not complicated:)
Your ratio simply identifies how many parts of starter to water to flour will be used for a feeding.
For example,
1:1:1 means 1 part starter is mixed with 1 equal part of water and 1 equal part of flour. So, if I start with 5 grams of starter in a jar, I would then mix in 5 grams of water and 5 grams of flour to the starter to get a 1:1:1 feeding ratio.
Let’s do another example,
1:5:5 means 1 part starter is mixed with 5 parts of water and 5 parts of flour. So, if I start with 5 grams of starter in a jar, I would then mix in 25 (= 5 x 5) grams of water and 25 grams of flour to the starter to achieve a 1:5:5 feeding ratio.
The ratio you feed your starter largely depends on three key factors:
- Environment Is it relatively warm or relatively cool in your kitchen? You will need to increase your feeding ratio in warmer climates so that your starter has more “food” to eat (ferment), because it will ferment faster than it would in a cooler climate. Decrease your feeding ratio in cooler temperatures because your starter growth will slow down.
- Feeding Frequency If you feed your starter twice a day, morning and evening, you can decrease your feeding ratio because it has a shorter ferment time. On the other hand, if you feed your starter once a day, you will need to increase your feeding ratio because your starter will be sitting and fermenting for significantly longer.
- Feeding Ingredients As mentioned earlier in this post, rye and wheat flours will increase the activity in your starter. If you are including these flours in your starter feeding, be sure to increase your ratio a little bit to account for the increase in fermentation and growth that your starter will undergo. Additionally, the temperature of the water you use to feed your starter will impact its speed of growth. Just like the temperature of your environment, the warmer the water the quicker your starter will ferment (grow). Do the best you can to maintain consistent water temperature for your feedings.
I generally recommend a 1:5:5 ratio, 10 grams starter mixed with 50 grams water and 50 grams flour, to get started with regular feedings. This amount will develop to the amount of starter you typically need for a simple sourdough loaf.
In order to generate more starter, simply begin with more for your feeding. If you are using a 1:5:5 feeding ratio, you can use 20 grams starter and feed it 100 grams water and 100 grams flour – you’ll end up with A LOT of starter. I’d recommend using this calculator for quick and easy math when trying to increase your starter to a specific amount.
Leave a Reply to How to Make Sourdough Starter From Scratch – Home MakerieCancel reply