This recipe is more than a recipe, it’s more of a total Sourdough run down. I’ve noticed recently that making Sourdough has exploded as a trend across every social media platform. When I began the journey of learning the art and science of Sourdough, I didn’t realize the world of opinions I was stepping into! Throughout my hundreds of loaves of Sourdough, endless research, and non-stop experiments, I have incorporated sourdough-making best practices and developed my own Artisan Sourdough Loaf recipe that works perfectly for me.
Jump to RecipeBefore moving onto the nitty gritty of this classic Sourdough loaf, it is important to understand that Sourdough is both a science and a “feel” or learned intuition. Give yourself about a year of consistent practice (this is if you’re making about a loaf a week) to really hone in your understanding and skill of your Sourdough making. It takes a while to understand the look, feel, and smell of the dough at every stage, how to handle it without it sticking to everything, and how to shape it effectively and efficiently. The learning never really ends. You can always discover something new, find ways to improve your current Sourdough methods, and challenge yourself. So let’s get into it!
Below I have divulged, as concisely as possible, a description and reason for each step in the process of making a traditional Sourdough loaf. There’s no reason to be intimidated – these steps will make more sense after your first go at it. Really nailing your sourdough skills takes a lot of practice, persistence, and patience.
Starter 8 pm
1. Begin by feeding your starter the night before you plan to use it. For reference, I typically use a 1:5:5 ratio in the winter, and 1:10:10 ratio in the summer.
Before making your Sourdough, it is important that your starter strength is up to par. In case you still have questions about your starter, or haven’t made one yet, be sure to check out my blog post All About Your Starter.
I make sure to feed my starter 12 hours before I plan to use it for Sourdough. Depending on the warmth of your space, your feeding ratios will vary. The key to a starter that is ready and strong enough to use is one that is at, or near, its peak of growth. Throughout the timeline of a fed starter it will grow, reach its peak, then begin to fall again. You will notice it is falling when there are skid marks on the inside of your jar from the starter sinking down.
Autolyse 8 am
2. The following morning, thoroughly combine your flour and water by hand in a bowl, cover with a towel, and allow to rest for 30 minutes.
This is your Autolyse. Autolyse is when you combine just the flour and warm filtered water at the beginning of making Sourdough. This step kick starts gluten development and strength. Mixing by hand allows you to know that the flour and water are completely combined.


Dimpling in the Starter and Salt
3. After your Autolyse, pour your starter and salt evenly across the top of your dough. Have a bowl of water to frequently dampen your fingers. With wet fingers, dimple your starter and salt into the top of the dough.
Dimpling in your starter and salt incorporates the salt and starter more evenly throughout the dough. This step also makes the dough easier to work with when you move on to stretch and folds.


Stretch and Folds to Incorporate 10-15 min.
4. Once it feels like the salt is dissolved and the starter is well incorporated, move on to stretch-and-folds to continue incorporating the starter. Dampen your hands as needed and perform stretch-and-folds for 10-15 minutes. Cover your bowl of dough with a towel and allow it to rest 30 minutes.
A “stretch-and-fold” is when you lift (stretch) a portion (about one quarter) of your dough into the air and fold it back down on top of the dough, turn the bowl one quarter and perform a stretch and fold on the next piece of dough. Repeat this all the way around the dough. Be careful not to rip the dough, this continues the gluten development and strength.


Stretch and Folds
5. After your dough has rested 30 minutes, perform one set of stretch-and-folds. Allow your dough to rest, covered, for another 30 minutes.
One “set” means to perform 4 stretch-and-folds, performing quarter turns, to make it around your bowl once.
6. Perform another set of stretch-and-folds and allow your dough to rest, covered, for another 30 minutes.
7. Perform one last set of stretch-and-folds, and take the temperature of your dough.


Taking Dough Temperature if you feel overwhelmed consider implementing this step down the road
8. Take the temperature of your dough after your last stretch-and-fold.
Taking the temperature of your dough before you allow it to bulk ferment (rest and rise) will give you a general sense of 1) how long it will rest and 2) how much it should grow. I can’t take any credit for the chart below, but this is the most helpful tool in understanding dough temperature and time. The chart and deep explanation can be found here, written by Tom Cucuzza from The Sourdough Journey.

Bulk Fermentation
9. Now allow your covered bowl of dough to rest for the appropriate amount of time per the guidance of the chart above. On cold days in my kitchen my dough may rest anywhere from 8-12 hours. In the summer, it’s done rising within 4-7 hours.
At this point in the process, written instruction can get confusing. Here are a few simple ways to identify if your dough is under-proofed (needs to rest longer), over-proofed (sat too long), or is just right and ready to be shaped.
Under-proofed
- Poke test: When you poke the dough it springs back quickly
- Dough texture: Tight, no sign of bubbles on the top of the dough
- Dough air/shaping: Not soft and airy, quite elastic
Just right
- Poke test: When you poke the dough it slowly rises back to the top, but not completely
- Dough texture: Relaxed, and some bubbles forming near the top
- Dough air/shaping: Elastic enough to stretch, soft enough to shape
Over-proofed
- Poke test: When you poke the dough, it spring back at all
- Dough texture: Too relaxed, many large bubbles at the top
- Dough air/shaping: Sticky, loose, quite sticky to handle
Shape
10. Begin by forming a loose rectangle, fold two opposite ends toward each other. Then fold in the the other ends and allow the round of dough to rest on its seems for 10 minutes.


11. For the second shape, gently pull into a rectangle again (not as large as the initial rectangle), use two sides to “stitch” the dough together down the middle and roll over itself to tighten the ball of dough. See images below to understand this shaping method.
The point of shaping is to strengthen and tighten the Sourdough into a loaf that will bake into an even shape with nice air pockets inside your loaf.


Final Proof
12. At this step you have two options. 1) You can place your shaped Sourdough into a lightly floured (I recommend using Bob’s Red Mill White Rice Flour) proofing basket and allow to rest for one hour at room temperature or 2) You can place your shaped Sourdough into a floured (Bob’s Red Mill White Rice Flour) proofing basket and put it into your fridge for anywhere from 5 hours and up to 3 days!


Score and Bake
13. Preheat your oven, with a Dutch Oven inside, to 465o for 30-60 minutes. Flip your dough onto high-heat parchment paper and score with a bread lame at a 45o angle (relative to the surface of the loaf) just to the side of the center. Carefully place your Sourdough (still on its parchment paper) into your hot Dutch Oven and place the lid on top. Bake for 20 minutes with the lid on and an additional 15 minutes with the lid removed.
The lid traps the steam created by the Sourdough allowing it to rise slowly with moisture, and creating shine on the crust’s surface.


14. Carefully remove your fresh Sourdough from the Dutch Oven and allow it to cool for at least 2 hours before slicing into it.
Slicing into your bread too soon will cause it to be gummy/sticky. When the bread is removed from the oven, it is still baking and releasing steam, allow that process to finish and expect lovely results!
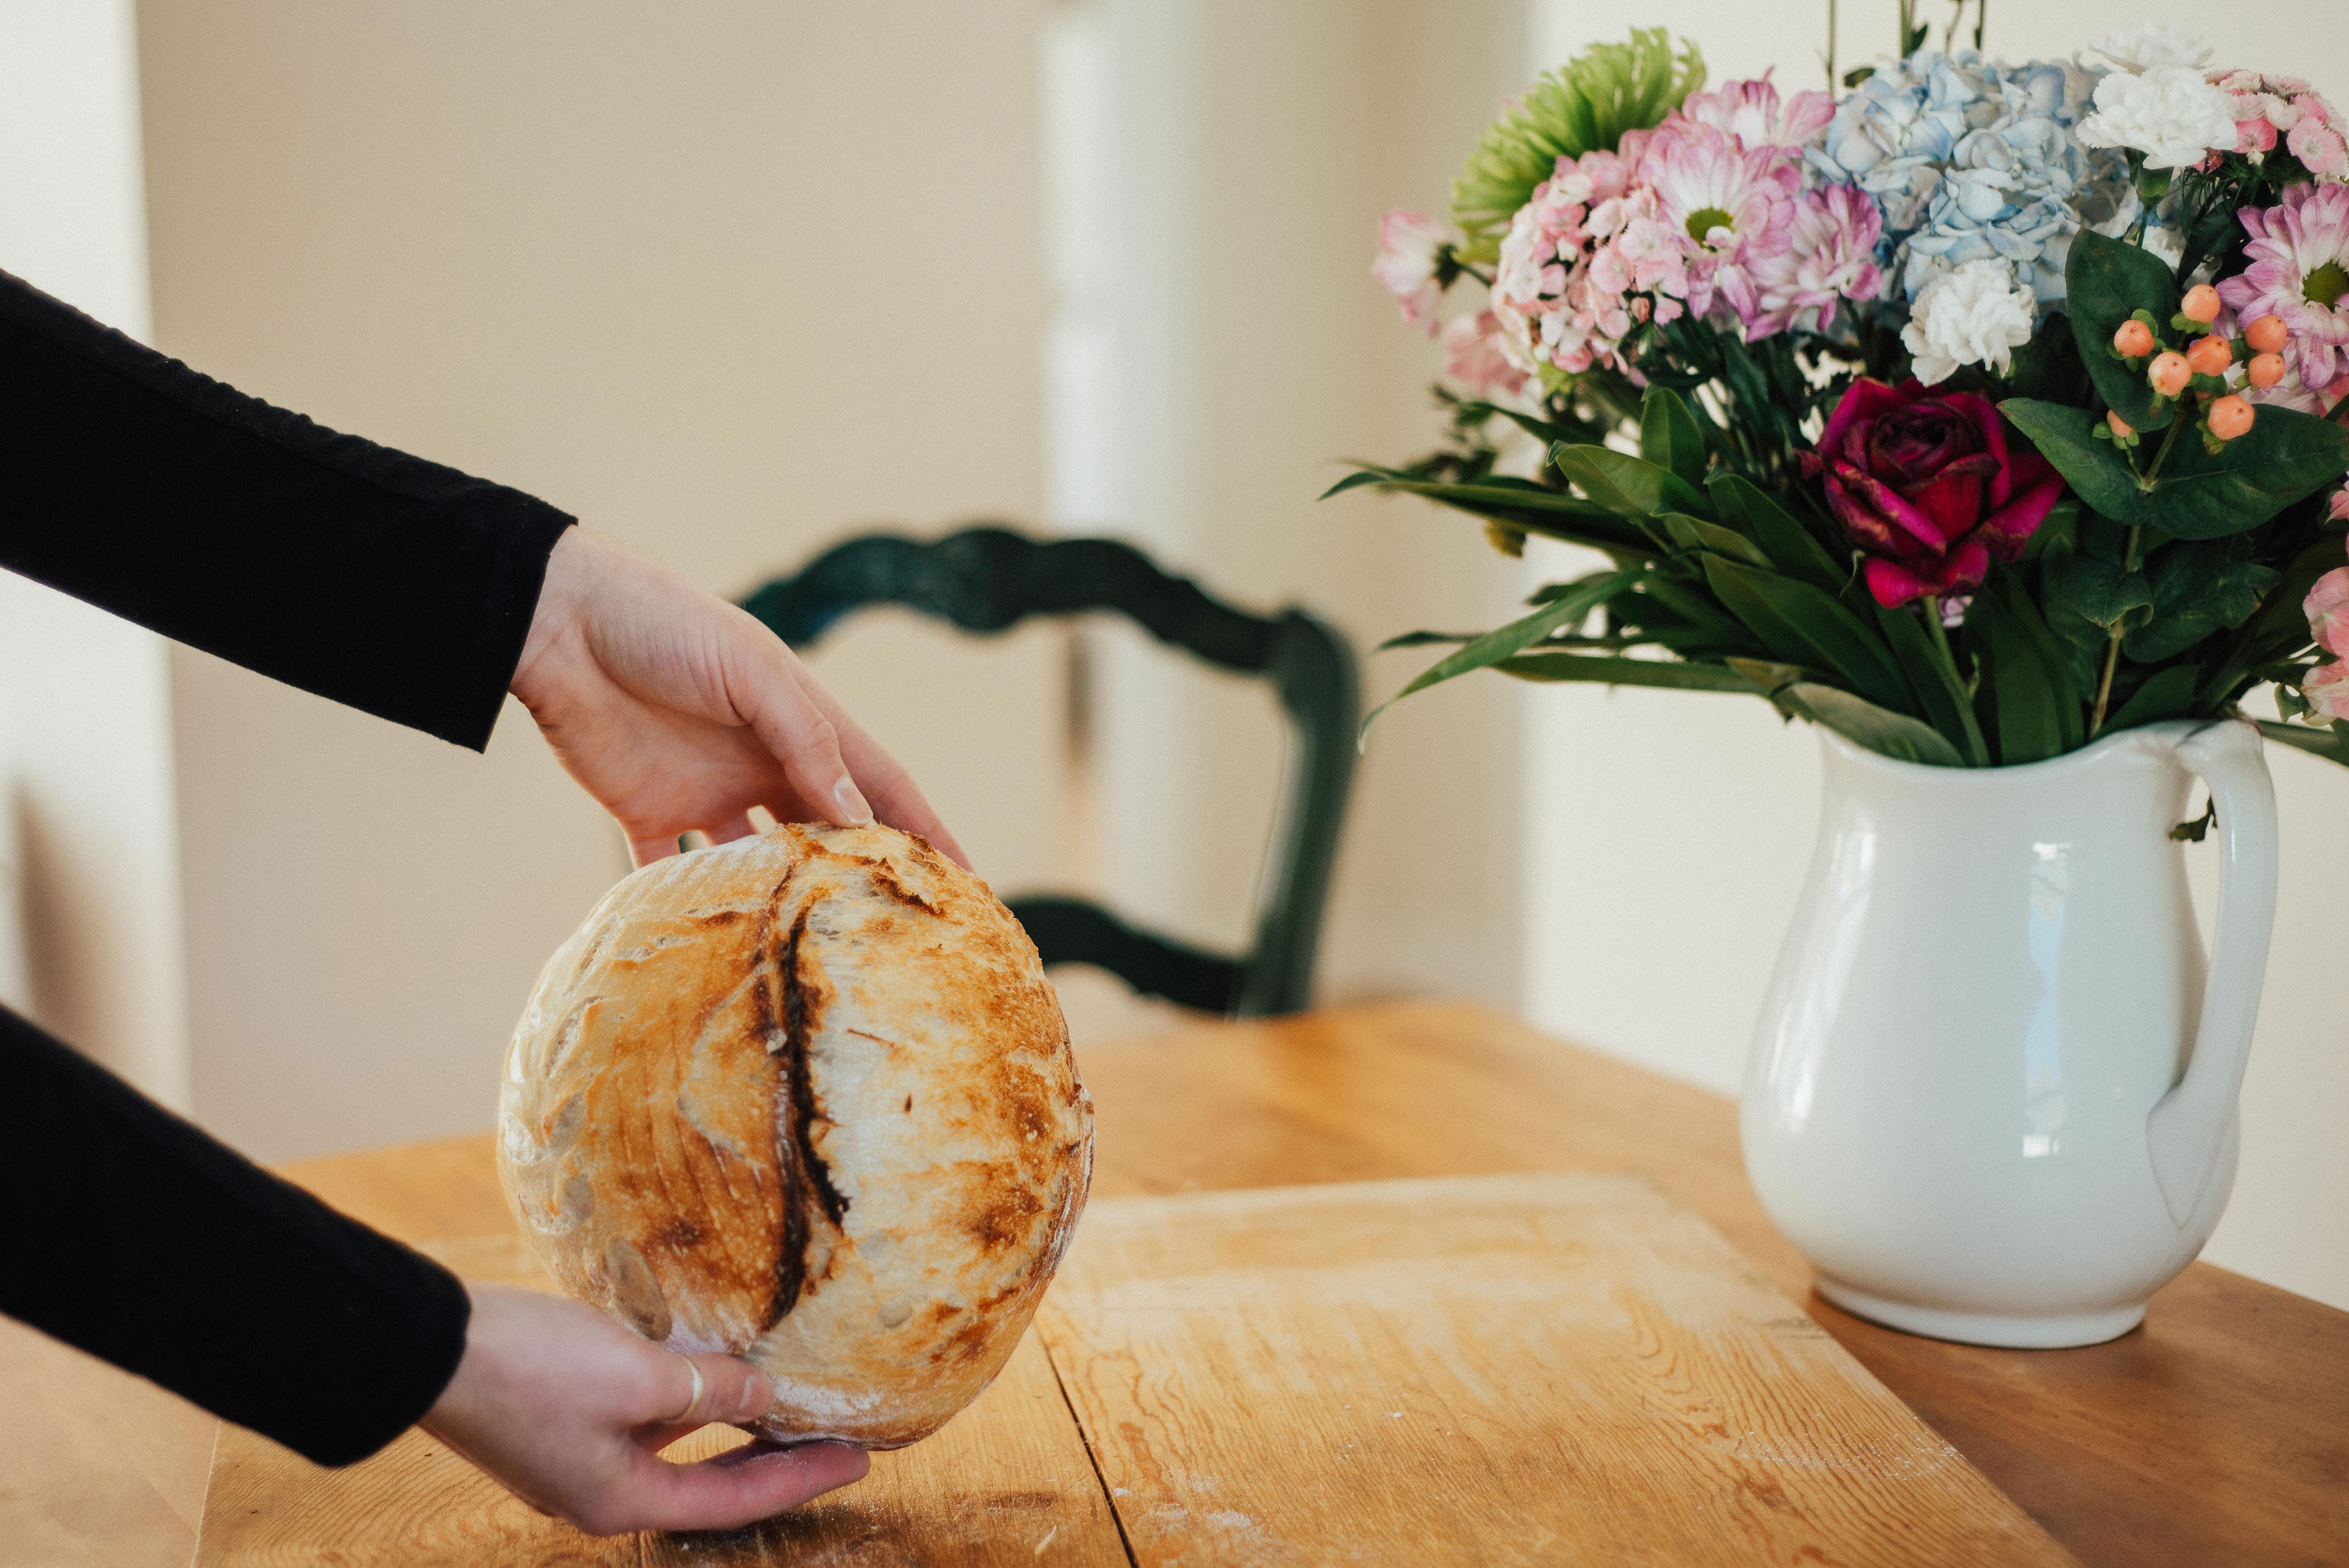
Enjoy!


Classic Artisan Sourdough
Ingredients
Method
- Feed your starter 12 hours before making your dough – for a 1:5:5 ratio add 11g starter to 57g water and 57g flour
- Autolyse Thoroughly combine your water and flour and allow to rest, covered with a towel, for at least 30 minutes365 g Water, 500 g All-Purpose Flour
- After your Autolyse, dimple in your ripe starter and salt12 g Salt, 125 g Ripe Sourdough Starter
- Continue with stretch and folds for 10-15 minutes to completely combine and strengthen your dough
- Allow your dough to rest, covered, for 30 minutes
- Stretch and Fold Perform 3 sets of stretch-and-folds every 30 minutes following the first rest (covering the dough in between each set)
- Bulk Ferment Take the temperature of your dough and allow your it to bulk ferment (covered) for the appropriate amount of time
- Shape Remove your dough from the bowl and perform the first shape, then allow to rest on its seams for 10 minutes
- Perform second shape to your dough, lightly flour the dough surface and place in your proofing basket
- Final Proof Allow your dough to either 1) rest in the basket at room temp for 1 hour or 2) place in the fridge for 1 hour and up to 3 days
- Preheat oven and Dutch Oven to 465℉ for an hour
- Bake Flip your dough onto parchment paper, score, and carefully place into the preheated Dutch Oven. Bake for 20 minutes with the lid on, then remove the lid and bake for another 15 minutes.
- Remove your bread from the Dutch Oven and allow to cool for 2 hours before slicing into it
Leave a Reply